
Start by finding out what needs fixing
A noise or shake when you brake doesn’t automatically mean you need new rotors. The pads, callipers, wheel bearings and other components can also be involved, so finding the cause comes first.
If you’re still working out what condition the discs are in, start with our guide to checking rotor condition and thickness.
Once they’ve been inspected, there are usually three options:
When it makes sense
They’re in good condition and meet the required measurements
What needs checking
Suitability for the new pads and the manufacturer’s servicing requirements.
When it makes sense
The surface can be corrected with enough metal left afterwards
What needs checking
Machining limits, surface finish and what caused the problem
When it makes sense
They’re worn out, damaged or need replacing under the service instructions
What needs checking
Correct parts, replacement in axle pairs and proper fitting
Ask an expert to explain which option suits your brakes and why. The measurements and condition should support the recommendation.
Should both brake rotors be replaced?
Yes. If a rotor needs replacing, replace the other one on that axle too, following the vehicle and rotor manufacturer’s instructions.
The front left and front right are one pair. The rear left and rear right are another.
Replacing them together gives the pads consistent surfaces to work against. Fitting one new disc and leaving a worn one on the other side can leave the brakes with a mismatch in condition.
Plan for the pads at the same time. Rotor manufacturers commonly call for new pads with new discs because the old pads have worn to match the previous surfaces. Check the requirements for the parts being fitted.
Our brake pad replacement guide explains that side of the job.


Should I replace all 4 brake rotors?
Not automatically. The front and rear brakes need checking separately.
You might need new front rotors while the rears still have plenty of usable life left. Generally the front discs wear out faster as they handle about 70% of the braking workload. If both pairs are worn or damaged, replacing all four makes sense.
Ask for the findings on each axle. That gives you a clear picture of what needs doing now and what can stay in service.
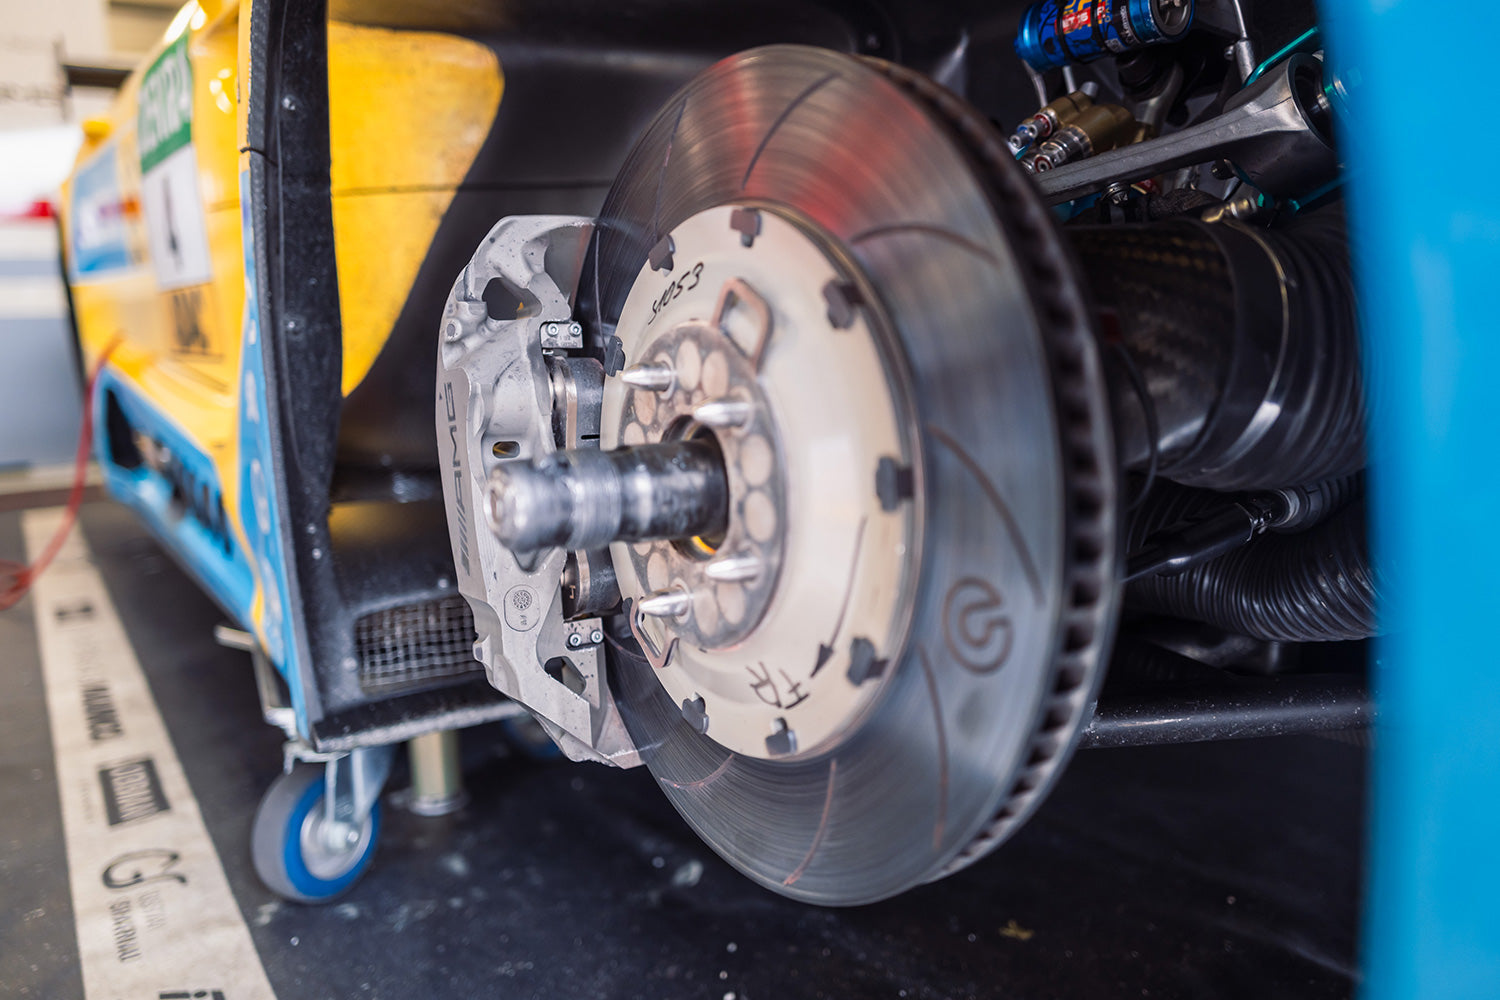

Tools and parts to organise
Before starting, make sure you have:
- The correct rotors and pads for the car.
- Any replacement bolts, clips, sensors or other hardware specified.
- A suitable jack, rated axle stands and wheel chocks.
- The right sockets, spanners and a torque wrench.
- A secure support for the calliper.
- The correct piston retraction or rewind tool.
- Approved cleaning products.
- Suitable measuring equipment, including a dial indicator for runout checks.
- Diagnostic equipment if the vehicle requires it.
Having parts that look close isn’t enough. Make sure you have the necessary equipment before taking the brakes apart.
How to measure brake rotors for wear
Measuring the thickness tells you how much metal is left in the disc. The important part is comparing that reading with the correct limit for the rotor fitted to your vehicle.
1. Secure the vehicle and access the brakes
Park on firm, level ground and let the brakes cool. Follow the vehicle’s instructions for securing, lifting and supporting it before removing a wheel.
Use rated axle stands at the approved support points. Never work with the vehicle supported by a jack alone.
Rear brakes can need a different approach because of the parking brake. If an electronic system requires service mode, put it into that mode before working on the affected components.
2. Remove the pads and support the calliper
Follow the removal sequence for your brake setup. Take note of where the clips, shims and other hardware sit so you can check their positions during reassembly.
Support the calliper securely once it’s removed. Don’t leave it hanging from the brake hose, and avoid stretching, kinking or clamping the hose unless the service procedure specifically calls for an approved method.
Keep your foot off the brake pedal while the brakes are dismantled.
3. Remove the old disc and prepare the hub
Depending on the design, you may need to remove the calliper carrier or disc retaining hardware before taking the rotor off.
Once it’s removed, inspect and prepare the hub face where the new disc will sit. Rust, dirt or damage can stop it sitting flat.
Check the relevant wheel bearing condition too. A fresh rotor won’t fix a worn bearing or a damaged hub.
4. Prepare and fit the replacement rotor
Compare the replacement with the correct application details before fitting it.
Read its cleaning instructions. Some discs have protective oil that needs removing, while others have coatings designed to stay on. Follow any directions for painted surfaces as well.
Check for a specified direction of rotation, then fit the rotor against the prepared hub and secure it as directed for the installation checks.
5. Check installed runout
Runout is sideways movement as the disc turns. Check it with a dial indicator using the setup and limits specified for the vehicle.
A new rotor still needs this check. Rust on the hub face, mounting problems or worn components can affect how it runs once fitted.
If the reading is outside the limit, find and correct the cause before continuing.
6. Reassemble the brakes
Retract the calliper pistons using the correct method for the brake design. Keep an eye on the brake fluid reservoir, as pushing the pistons back can raise the level and cause an overflow.
Fit the correct pads, clips, sensors and hardware. Check that the calliper moves as it should.
Tighten the fasteners to the specified torque with a torque wrench, and replace single-use bolts where required. Don’t guess the settings or tighten everything by feel.
7. Complete both sides and check operation
Finish the work on both wheels of the axle, then refit the wheels using the correct torque and tightening sequence.
With the vehicle stationary, restore the normal brake pedal position before moving it. Check the fluid level, look for leaks and complete any parking brake checks or electronic resets required.
The pedal should feel normal and stable. A leak, unusual pedal travel or another unresolved fault needs sorting before driving.
Complete the prescribed operating checks, then follow the bedding-in instructions supplied with the pads and rotors.

How to machine brake rotors
Machining, also called skimming or resurfacing, removes a controlled amount of metal to restore the braking surface. It’s a workshop job carried out with a brake lathe.
First, the technician checks the rotor for damage and measures its thickness. They also confirm that machining is allowed for that disc.
There needs to be enough metal left after machining to meet the applicable machining requirements and stay above the discard limit. A disc that’s already too thin isn’t a candidate.
The technician then sets up the rotor on suitable equipment, makes controlled cuts to achieve the required finish, cleans it and checks the final measurements.
A grinder or a bit of sanding at home won’t give you the same result.
There’s no set number of times every rotor can be machined. It depends on its condition, how much material remains and the manufacturer’s requirements.
The original cause needs attention too. If a sticking calliper, bearing problem or dirty mounting face caused the issue, machining the surface alone won’t sort it.